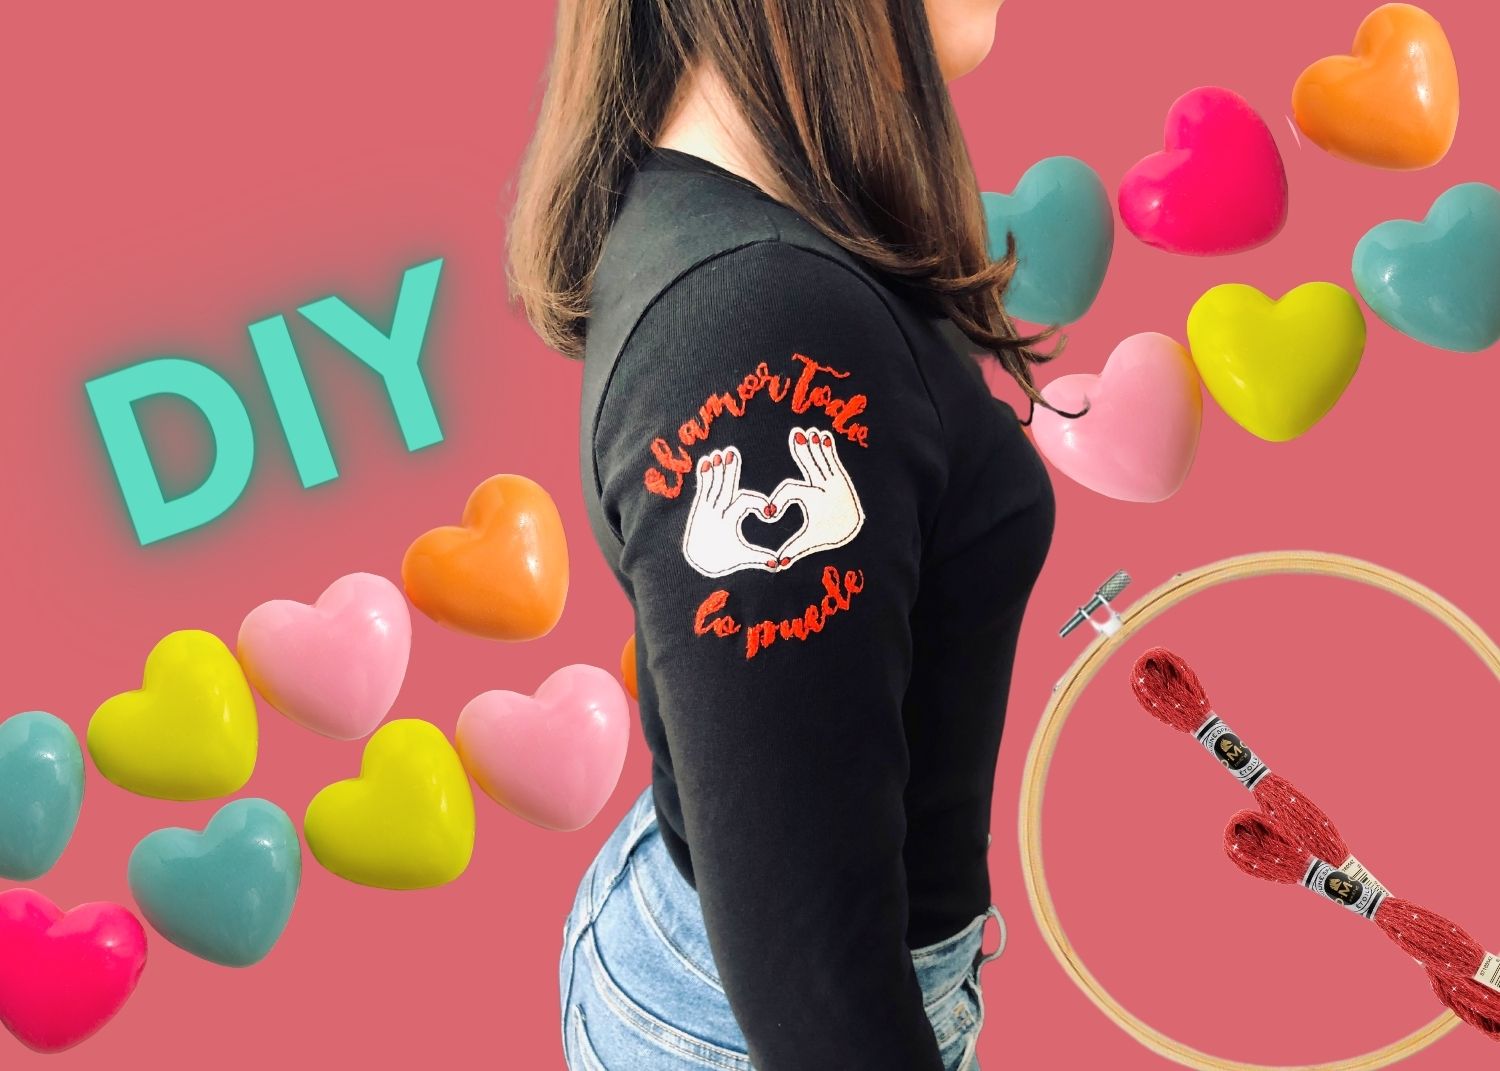
DIY: Heart Hands Embroidery
Wear your heart on your sleeve . . . beautifully! Spread the love with this beginner DIY embroidery project that celebrates Hispanic and Latino/x culture.
By Lindsay López-Isa Lamken
We could all use a gentle reminder lately to look on the bright side of our relationships and treat other with love and respect, right? And it certainly doesn’t hurt if that reminder also looks fantastic and celebrates Hispanic and Latino/x culture! This project is great for Valentine’s Day, a rainy day, or any day really, so let’s get stitching . . . .
What You’ll Need:
- A fitted, long-sleeve black t-shirt (or another shirt or jacket you would like to embroider)
- A 5-inch embroidery hoop
- Embroidery floss (1 skein, bright red – we used DMC “Etoile” C666)
- An embroidery needle (or a sewing needle with a large eye)
- 1 heart hands emoji patch (from Etsy or Amazon)
- A clothing iron and ironing board
- A lightweight cloth (to cover patch when ironing)
- A printable, self-adhesive stabilizer and a printer
- Scissors
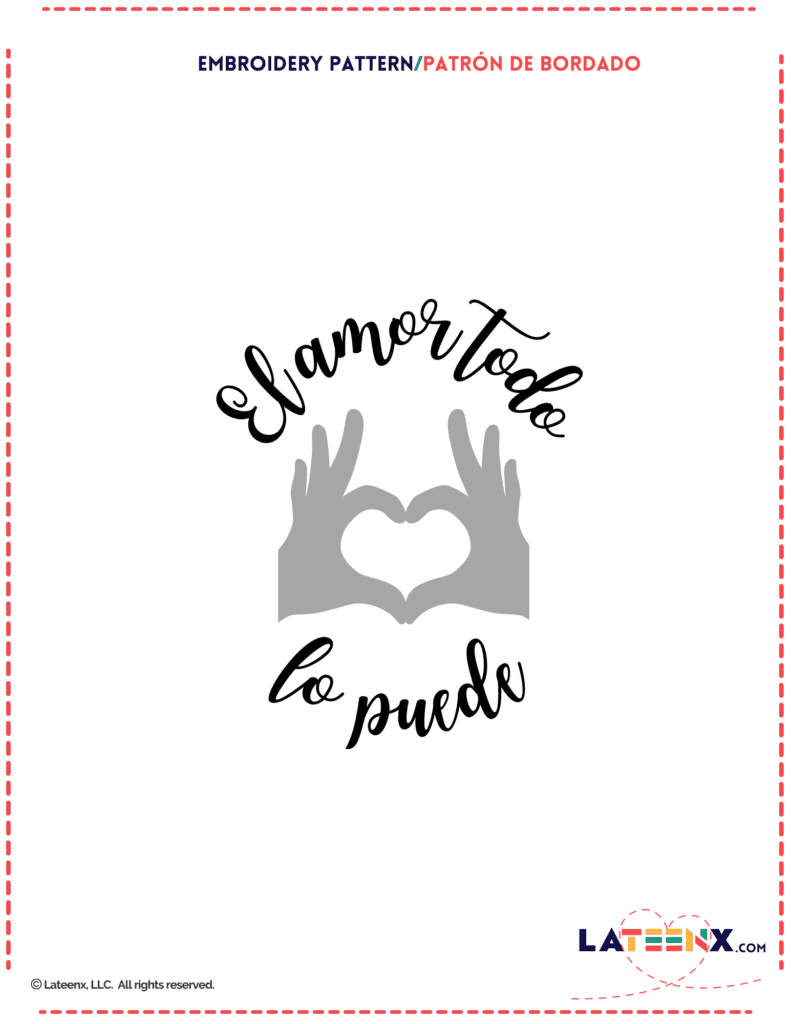
- Our Lateenz downloadable embroidery pattern
Let’s Do This in 5 Easy Steps:
Step 1:
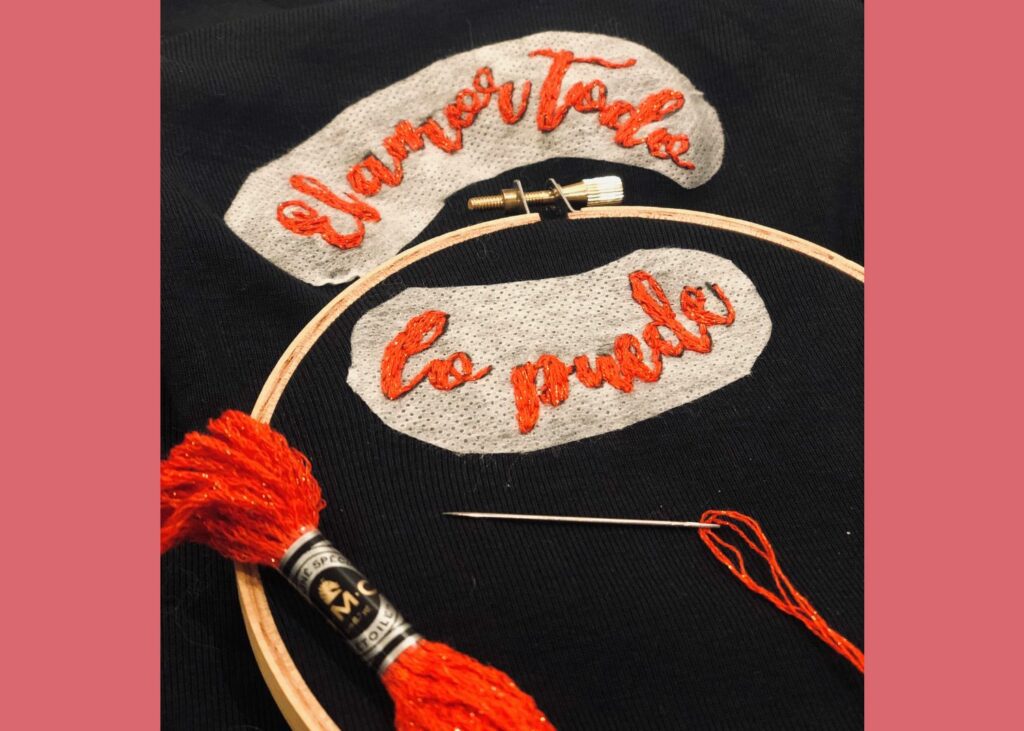
Download and print the calligraphy pattern onto the stabilizer paper, and then cut out around the words. (We cut the top (“El amor todo”) and bottom (“lo puede”) parts separately.) Then peel off the paper backing and stick the cutouts to the t-shirt on the sleeve you prefer, making sure to leave enough space between them for the patch.
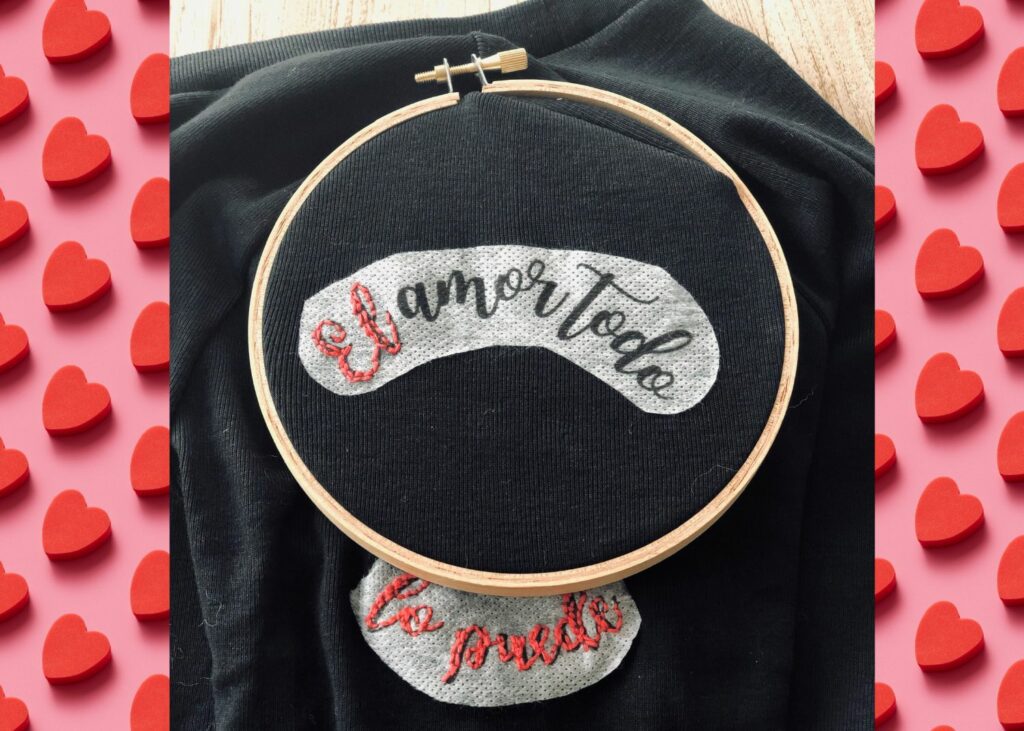
Step 2: Use the embroidery hoop to stretch and hold the fabric over one of the cut outs. Sew over the letters in the pattern using a backstitch. If you’ve never done this before, watch this great and easy tutorial for using a backstitch over modern calligraphy.
Then repeat with the remaining cutout. This is what it will look like when you finish sewing.
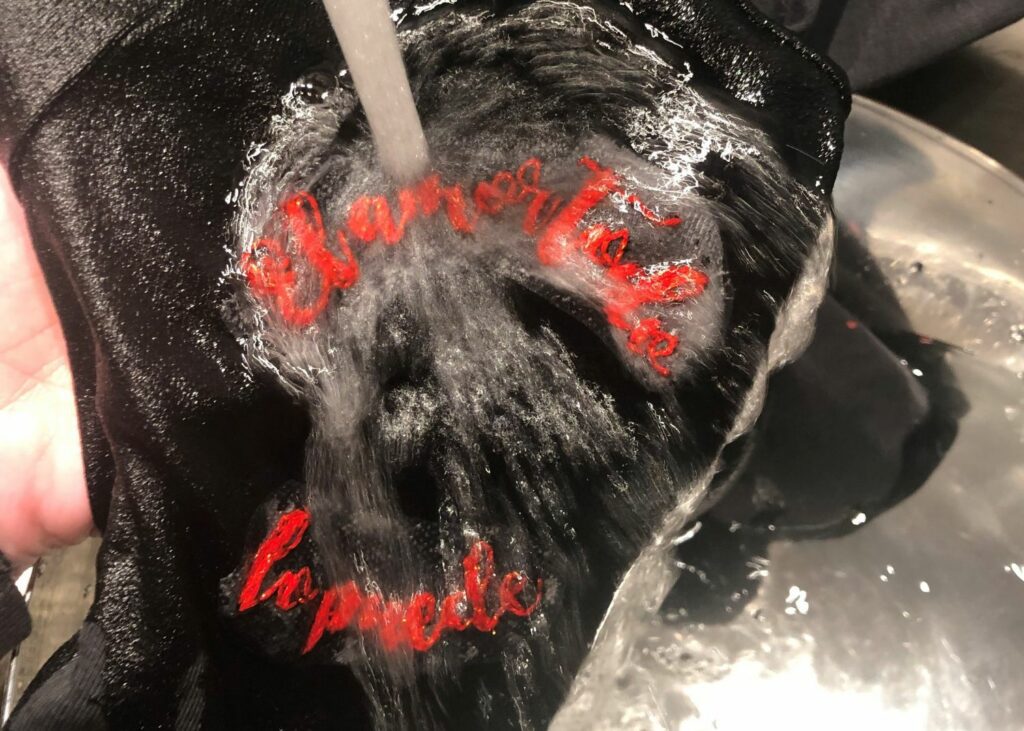
Step 3: When you have finished sewing over the pattern, take off the embroidery hoop and rinse the t-shirt under warm water until the stabilizer dissolves. You may need to rub gently and remove the glue around the edges of the floss with your fingers. (Go slowly and be careful not to snag the floss).
Step 4: Pop the t-shirt in the dryer on medium. Remove when dry and check for any remaining bits of adhesive.
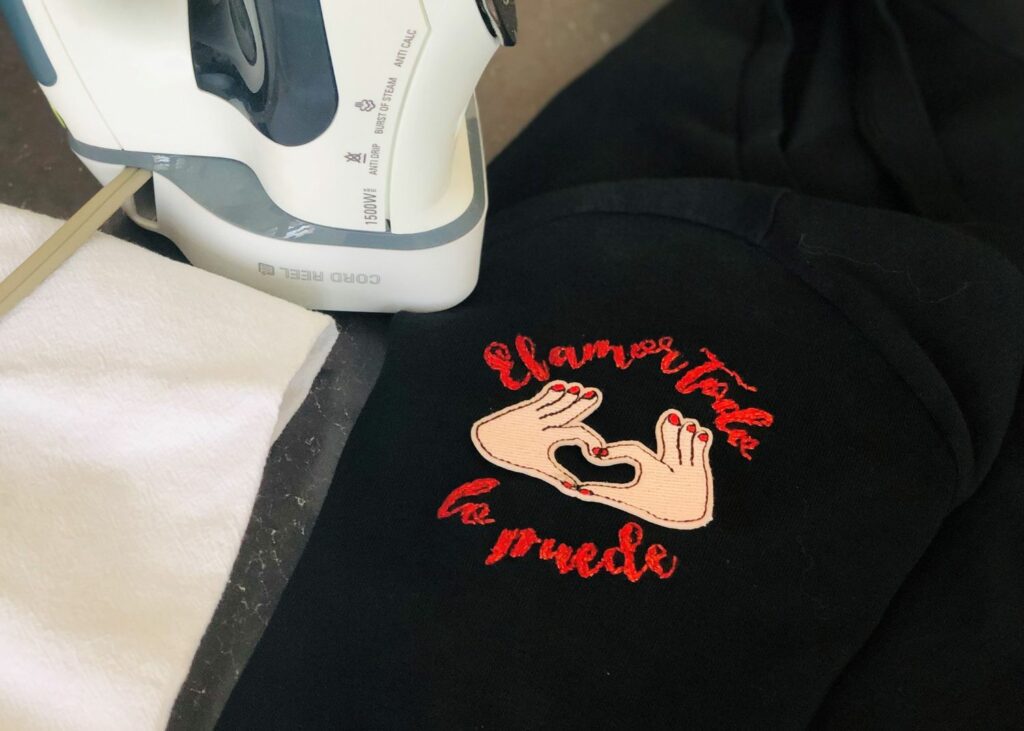
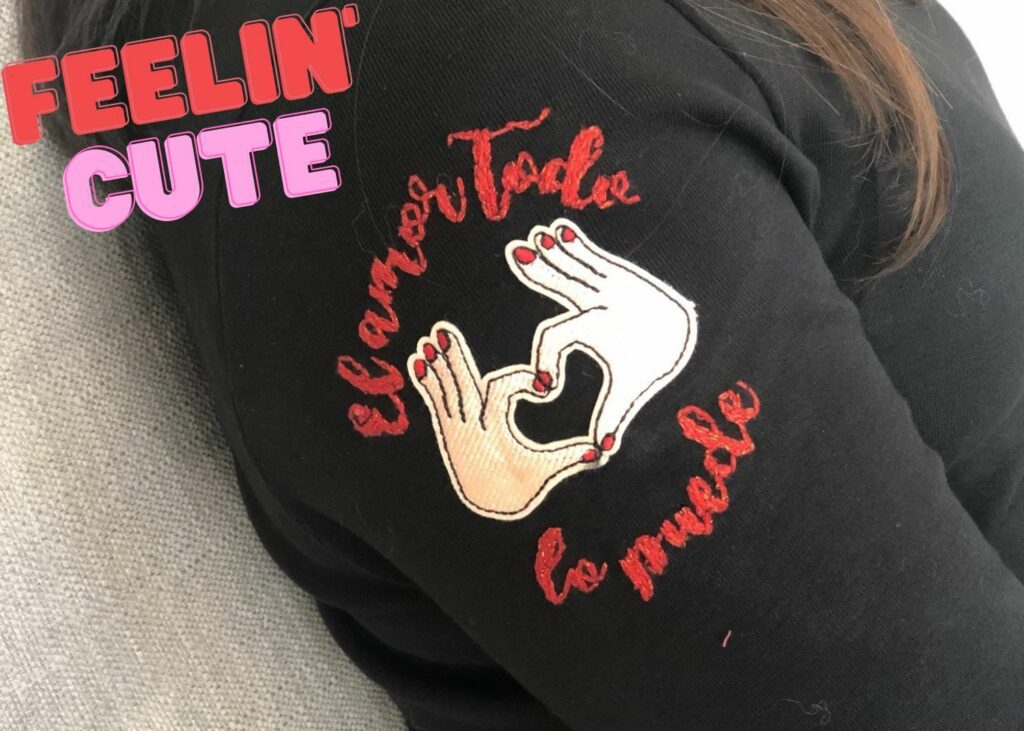
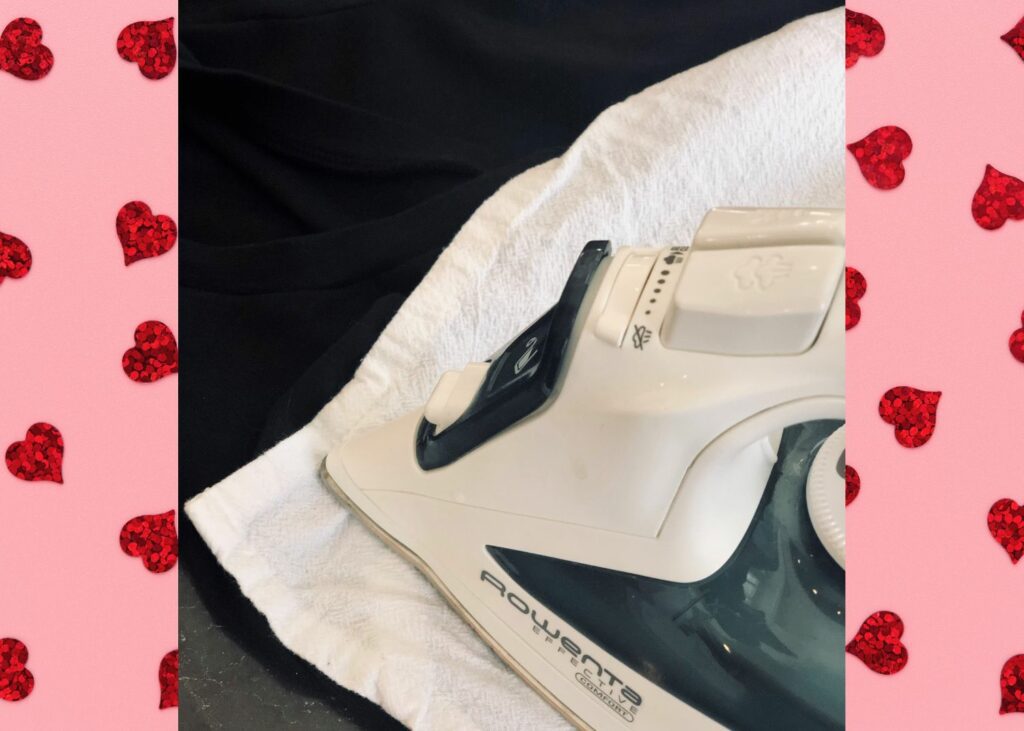
Step 5: Center the patch in the middle of the calligraphy design. Apply the patch to the t-shirt following the manufacturer’s instructions. The patch we used is self-adhesive, so our directions said to cover the patch with a light cloth and press firmly with an iron (no back-and-forth motion!) for 45 seconds on medium heat, then turn the t-shirt inside out and press again for another 45 seconds. Check to see that the patch is secure. (If not, press again.)
Wear your amazing “new” shirt and get ready for some compliments!
Related articles
-
 Student Life7 Great High School Internships in the Visual ArtsOctober 18
 -
 PlayMexican Card Game: Play Our Free Gen-Z Version of Loteria!July 14
 -
 Student LifeBack to Cool: “Latino-gram” Your BackpackAugust 16
 -
 PlayMini Piñatas: Easy DIY Steps to Make Your OwnOctober 30
 -
 CultureDía de los Muertos Sneakers With “Sole”November 01
Most popular
-
 Student Life35 Top Science Competitions for High School StudentsJanuary 31
 -
 Info / InspirationVoto Para La Mujer Quarter is a Major “Change”!July 29
 -
 Student Life35+ High School Internships in the Bay AreaJanuary 22
 -
 Student Life90+ Best Writing Competitions for High School StudentsApril 13
 -
 CultureA Smashing Success: The Surprising History of the Piñata in Latino/x CultureSeptember 27

